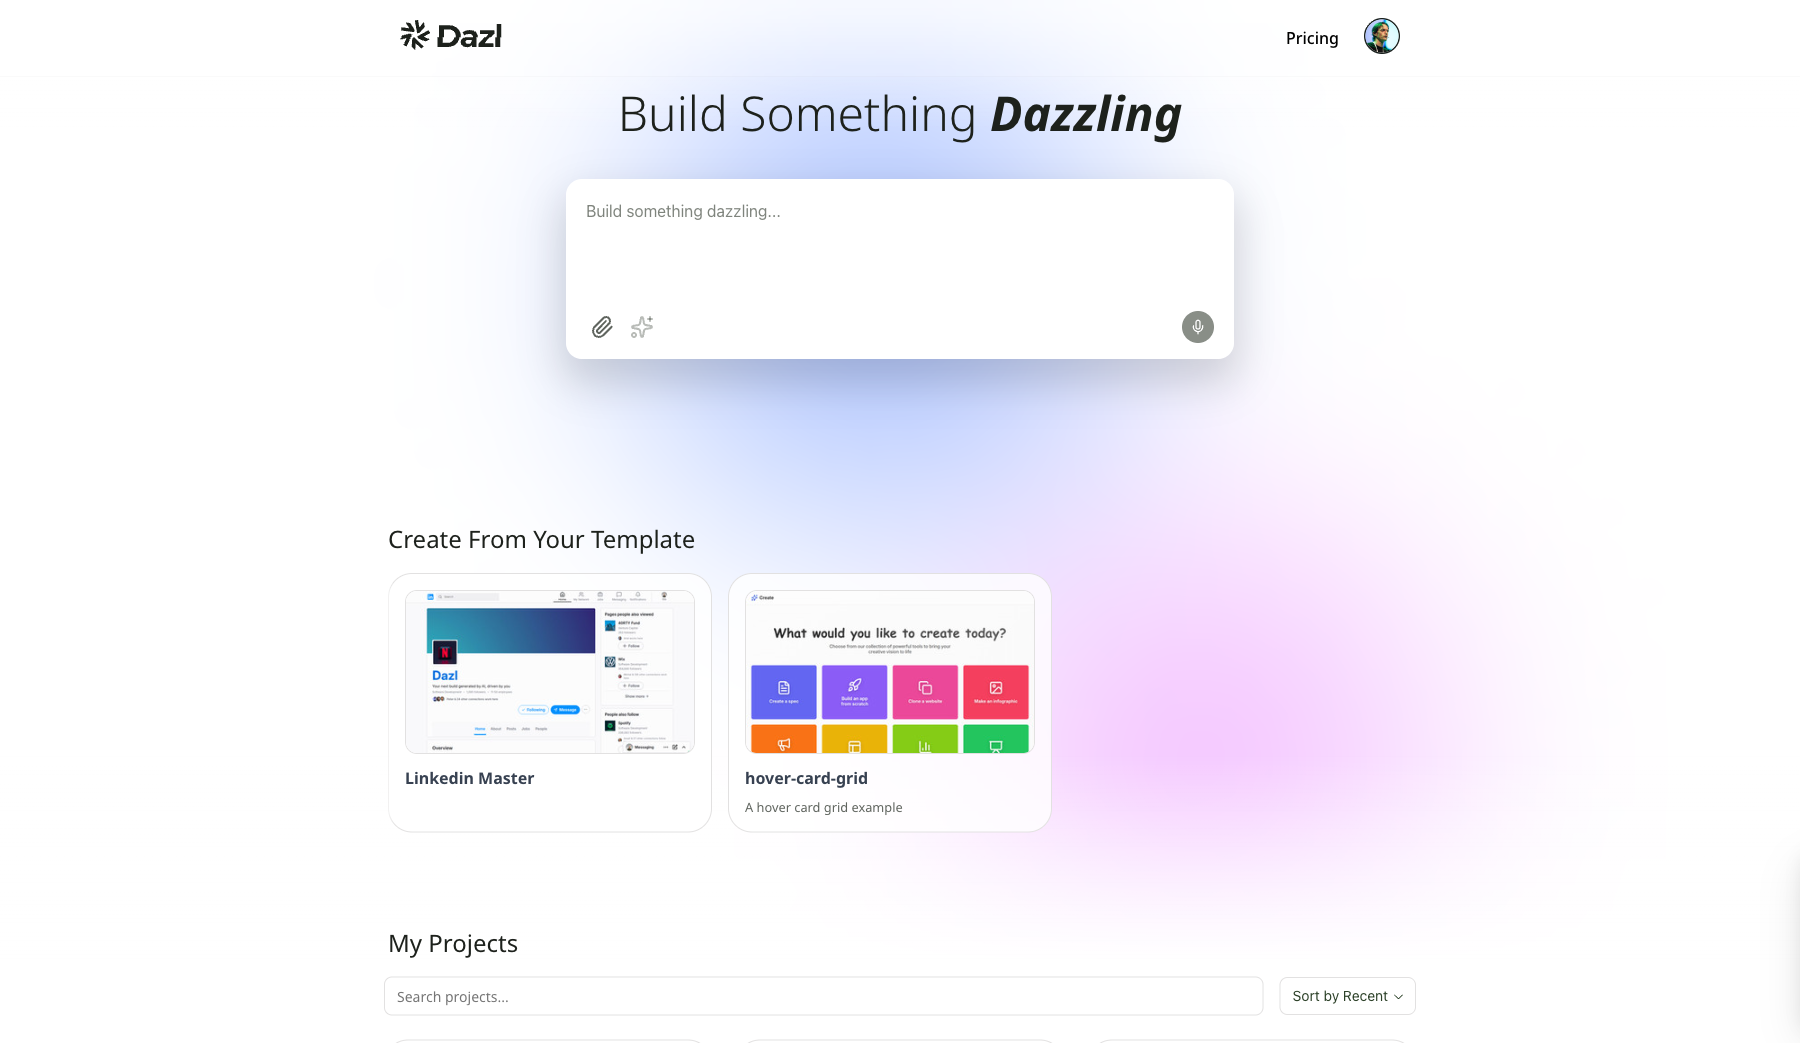
Starting a Project
There are several ways to begin a new project in Dazl, depending on what you're starting from.
From a Text Prompt
The most common starting point. Type a description of what you want to build in the prompt box on the Dashboard and send it.
A good prompt includes:
- What it is — "A landing page for a drone pet delivery service"
- Key sections or features — "with a hero, features grid, pricing, and sign-up form"
- Any design direction — "modern, clean, with a playful tone"
The AI generates a complete project with pages, components, and styling. During generation, the agent can crawl websites and search the web for reference material, helping it produce designs that better match your description. You can always refine from there.
Working in smaller, incremental steps tends to get better results than putting everything into a single large prompt. Start with the basics, then iterate.
From a Plan
Enable the Plan toggle in the prompt box before sending your prompt. Instead of generating code immediately, Dazl creates an editable project plan with:
- Pages — each with a description, URL, and a list of sections you can reorder, add, or remove
- Features — cards describing the key capabilities, with descriptions you can edit
- Theme guidelines — design direction for the AI to follow
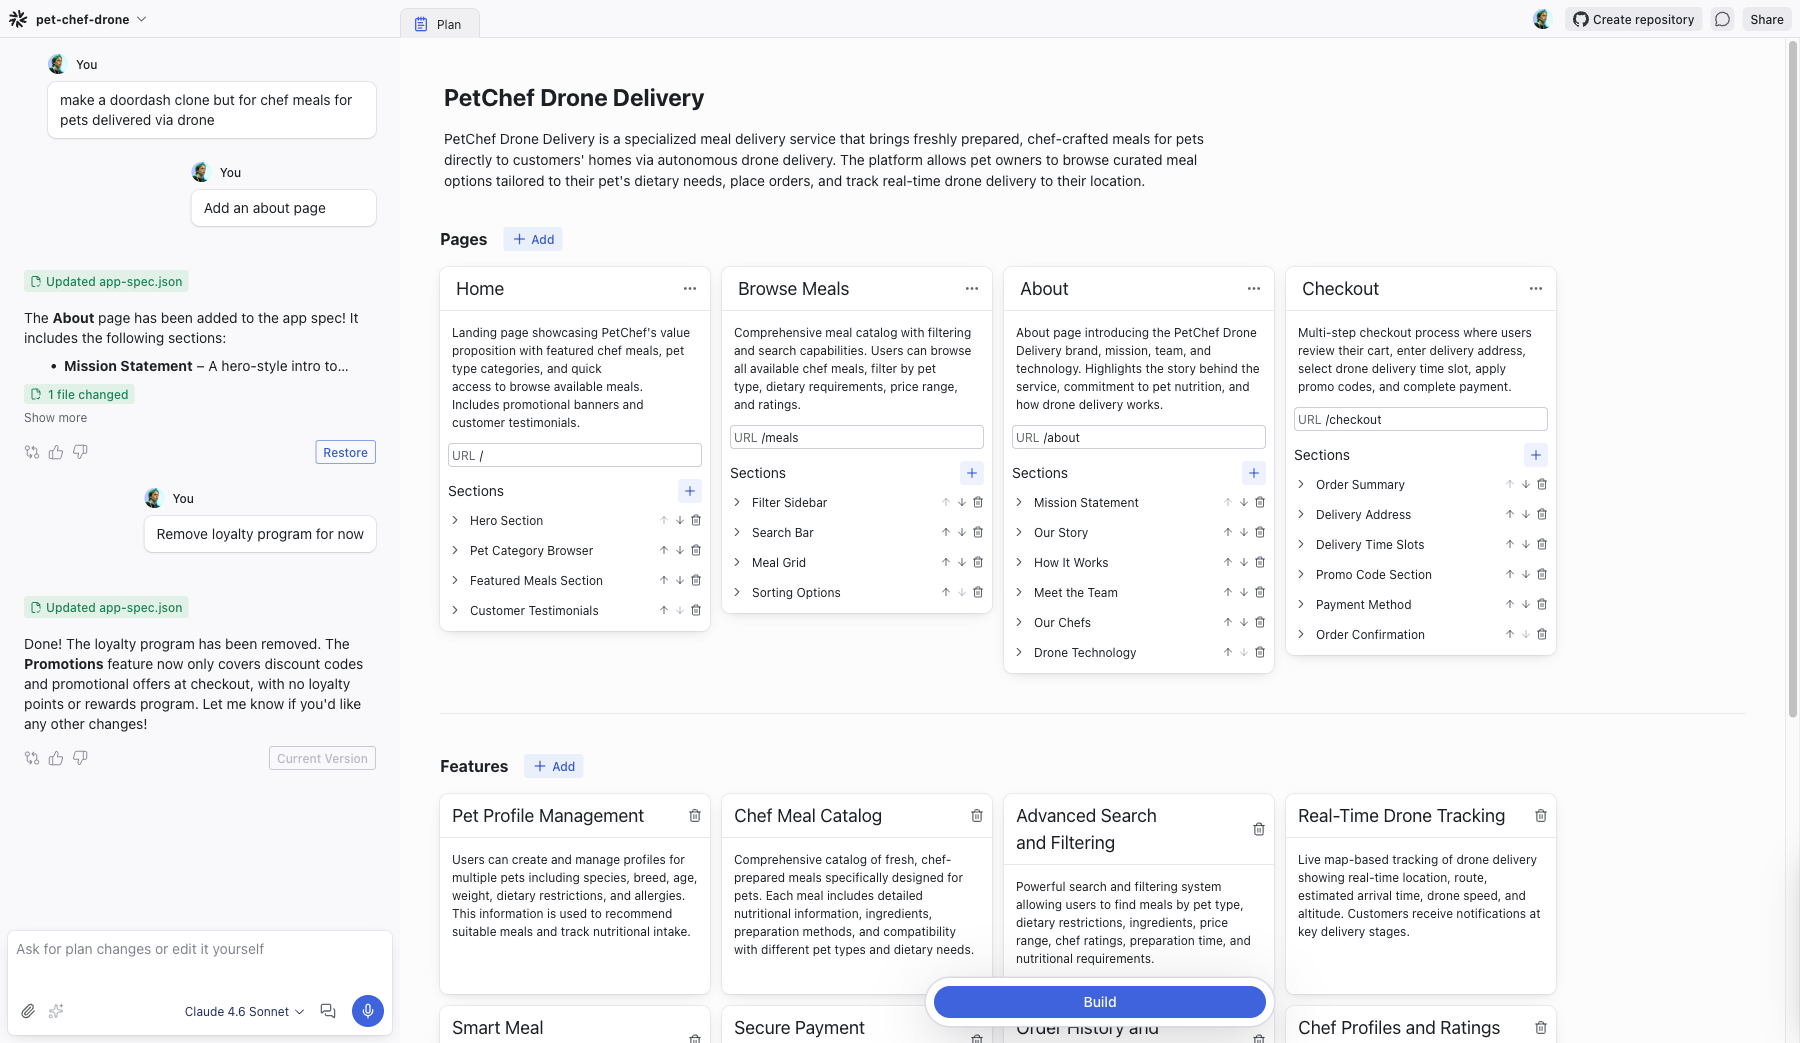
You can edit every part of the plan directly — rename sections, rewrite descriptions, remove features, or add new ones. Use the Chat to ask the AI for plan changes, or edit it yourself.
The plan is validated before you can build — errors are highlighted by section, and the Build button stays disabled until they're resolved. When you're satisfied, click Build to generate the project. Click Regenerate plan to start over with a fresh plan from the same prompt. See Plan for the full reference.
From a Screenshot or File
Click the attachment button (paperclip icon) in the prompt box to attach files as context. You can attach:
- Screenshots — of an existing UI to recreate or riff on
- Images — design mockups, logos, or other visual assets
- Documents — PRDs, briefs, or reference material
- Data files — CSVs, JSON, or other structured data
Add a prompt describing what you want:
"Here's a screenshot of our current dashboard. Recreate it and add a dark mode toggle" or "Build a project tracker based on this spreadsheet"
This is useful when you want to experiment with changes to an existing product without affecting the real thing.
From Specs
If you have a detailed specification — a PRD, a feature description, or technical requirements — you can paste it directly into the prompt or add it to the Specs panel after creating the project. Well-written specs give the AI a clearer understanding of what you're trying to build.
See Writing Specs for how to get the most out of spec-driven development.
Using Discuss Mode
The Discuss button in the Chat panel toggles discuss mode. When active, the AI responds conversationally without modifying your project's code.
This is useful for:
- Brainstorming — think through ideas, explore directions, or plan features together with the AI before committing to changes
- Understanding your project — ask the AI why something behaves a certain way, how a component works, or what a piece of code does
- Experimenting — test ideas and get the AI's perspective without generating code changes
Toggle it off when you're ready for the AI to start making changes again.
Choosing Your AI Model
Once your project is created, you can choose which AI model to use in the Chat panel. Different models offer different trade-offs between quality, speed, and cost.
See Chat for a comparison of available models.
Related Articles
- Writing Specs – guide the AI with structured specifications
- Templates – save and reuse project starting points
- Chat – model selector and available models
- Your First Project – step-by-step walkthrough for beginners
Upgrading to Pro
The Free plan gives you a taste of what Dazl can do. Upgrading to Pro unlocks more credits and additional capabilities for your team.
Writing Specs
The Specs panel is where you define how your project should be built. It brings together system prompts, spec documents, and content files in one place.